There's no sense in beating around the bush, so here it is... The Twisted Paper Lollipops tutorial!

These Lollipops were created for a tree in Festival of Trees Edmonton (for the University Hospital Foundation), but could be used in a window display, candy shop, or for a party! All you need to do is use your imagination... and get comfortable in front of the TV while you twist the tissue paper for them.
Supplies:
- Tissue Paper in Various colours, plan for approximately 6 pieces for a small lollipop and at least 10 for a large one
- Strong, sharp scissors
- Glue or strong adhesive of your choice
- Paper Plates
- Chopsticks or other sticks
- Cellophane if desired
- Tape
- Ribbon if desired
- Something to protect your workspace

Start by cutting your paper plates into desired size. It helps to at least cut the lip off the edge, allowing the plate to flatten a bit.


Next, it's time to get ready for glue! Remember to protect your surface before adhering the tissue! Twist the pieces together and begin by gluing in the center of your plate.

Rotate and twist around the glued down center, gluing every inch or so. I used hot glue which adheres quickly, but beware: hot glue burns! It's actually really tough not to burn yourself when working with hot glue and tissue paper. I'd love to hear other adhesive suggestions in the comments section below, just not that double sided tape didn't work very well and I don't recommend it.


Keep twisting and rolling your tissue around (twist sections together and adhere with a dot of glue when you need to attach a new piece) until you reach the end. Once you've filled your paper plate completely, finish it off with a dot of glue and trim the end.

Now you're ready for what comes next! Some might want to leave them like this, others may want to just add cellophane, and I added a stick. This gave them the traditional lollipop look and created some stability so that I could wire them to the tree. It all depends on what you're planning for their end use!

I attached the chopsticks to the backs simply by breaking them apart and adhering them with electrical tape in white as you see below.

Wrapping them in cellphane is easy, just cut a piece large enough, wrap, and twist around the stick. Then tie a ribbon around it!

I used curling ribbon to tie first and trimmed it down so that it would be easy to cover up. I did this so that I didn't have to worry about making it pretty, I just needed to think about getting it tight. Pretty comes next.

Next, I trimmed the cellophane at the bottom by giving it small snips and then tearing pieces off. Last, but not least, tie it with a ribbon!
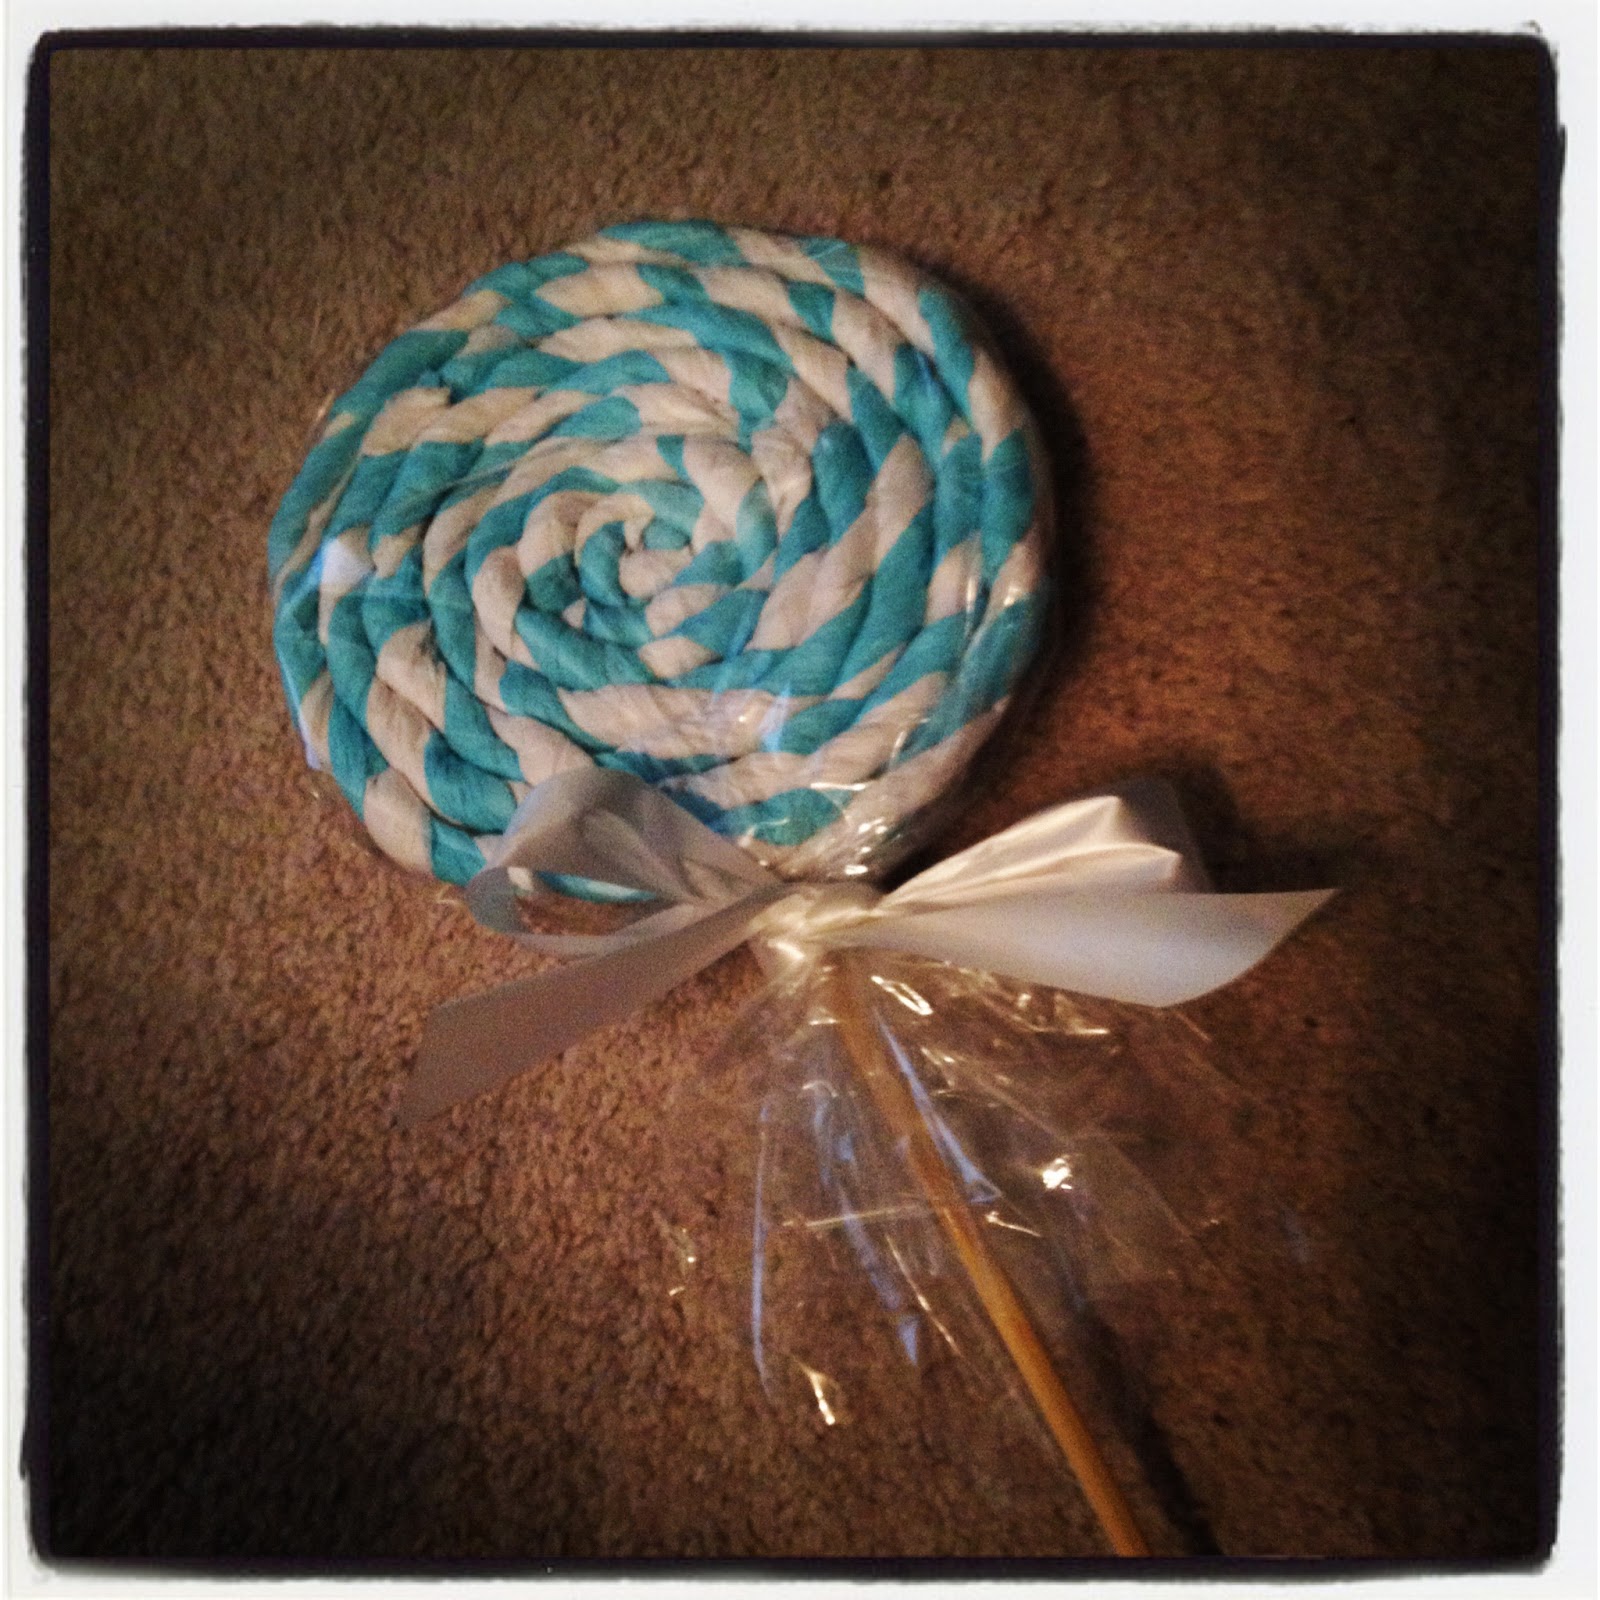
If I was going to use it somehwere where the stick could be seen, I would have painted the chopsticks white or purchased white dowels, but since the stick would be mostly hidden, a bare chopstick worked! Boy am I glad I saved them... Sometimes hoarding pays off I guess, wink wink!

Use your imagination for colour combinations and lollipop applications! Mine were in this tree, but yours could be used anywhere! Just plan for an hour per lolli... That's how long it took me, anyway! If you have any suggestions for adhesives or speeding up the process, I'd love to hear them. Otherwise, enjoy your new tissue paper lollipops!

Do you need ideas for props or displays in your store? Feel free to contact Melissa of Flourish Design & Merchandising or follow us on Twitter, Facebook, or Pinterest!
Halo,I'm Helena Julio from Ecuador,I want to talk good about Le_Meridian Funding Service on this topic.Le_Meridian Funding Service gives me financial support when all bank in my city turned down my request to grant me a loan of 500,000.00 USD, I tried all i could to get a loan from my banks here in Ecuador but they all turned me down because my credit was low but with god grace I came to know about Le_Meridian so I decided to give a try to apply for the loan. with God willing they grant me loan of 500,000.00 USD the loan request that my banks here in Ecuador has turned me down for, it was really awesome doing business with them and my business is going well now. Here is Le_Meridian Funding Investment Email/WhatsApp Contact if you wish to apply loan from them.Email:lfdsloans@lemeridianfds.com / lfdsloans@outlook.comWhatsApp Contact:+1-989-394-3740.
ReplyDelete